Creating a Project
Now that you have successfully run the OpenWard binary, open the dashboard at:
http://localhost:9090
You should see the login page first.
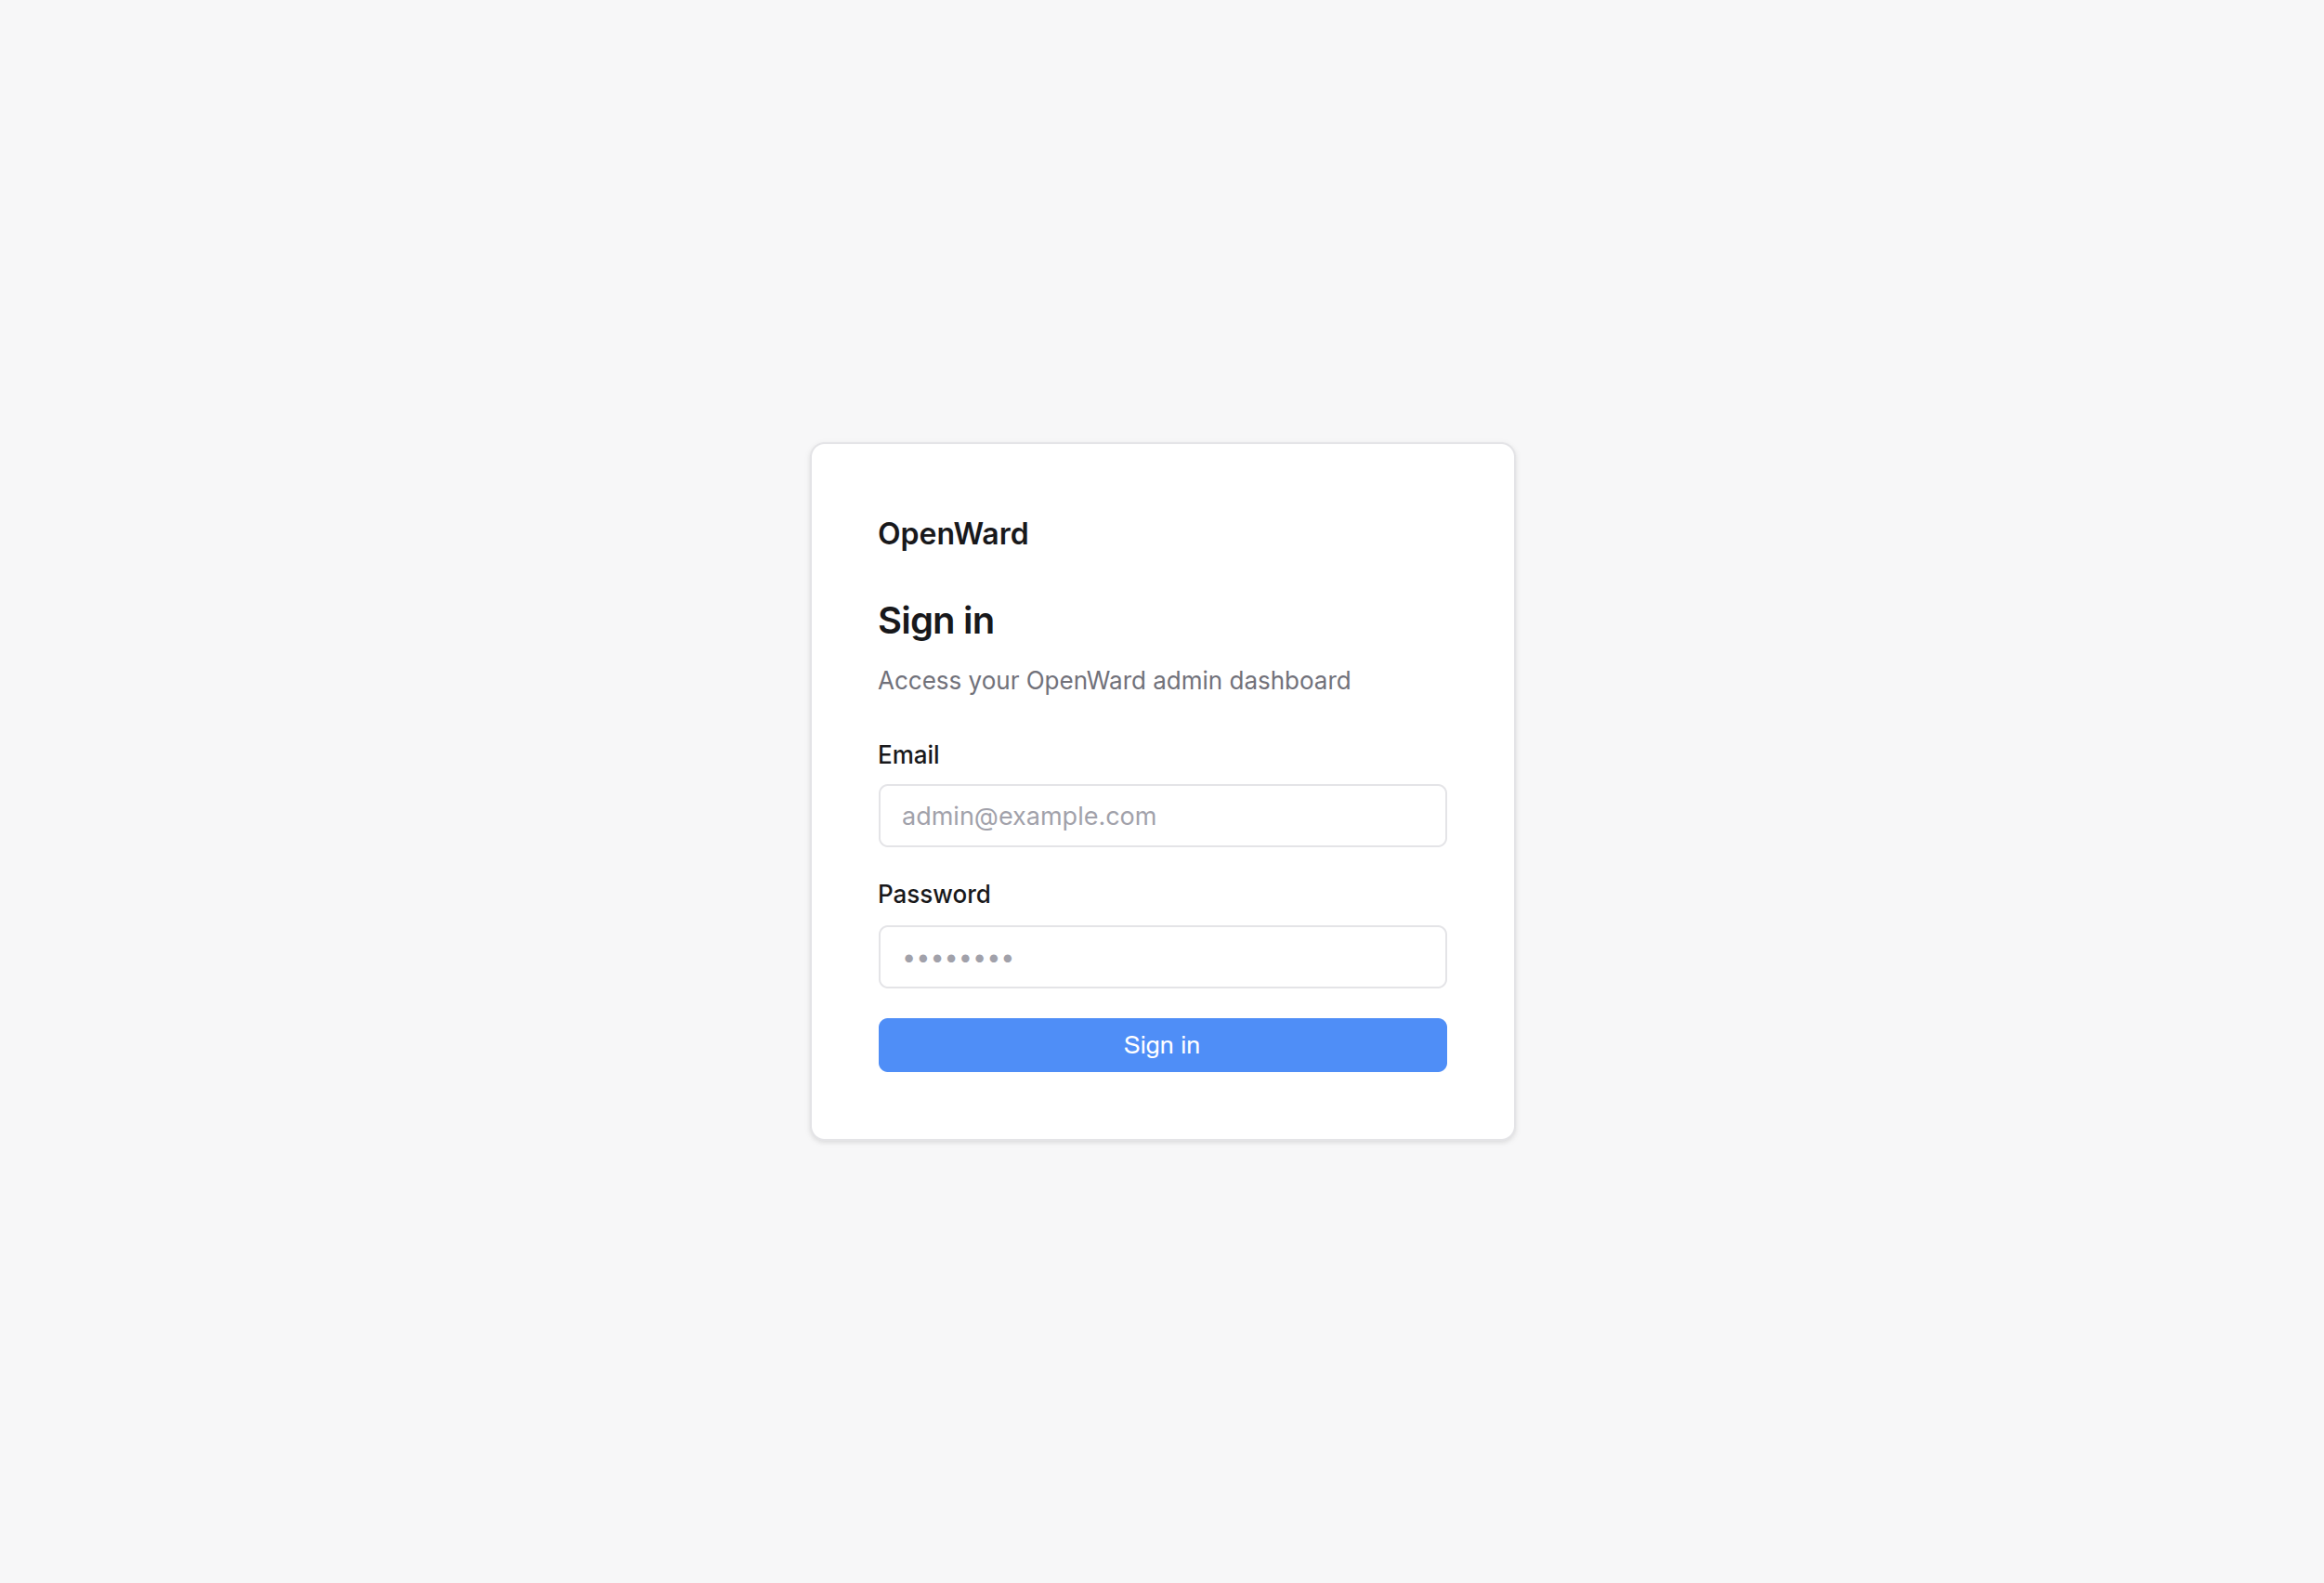
Use the admin credentials you set in the .env file earlier to sign in.
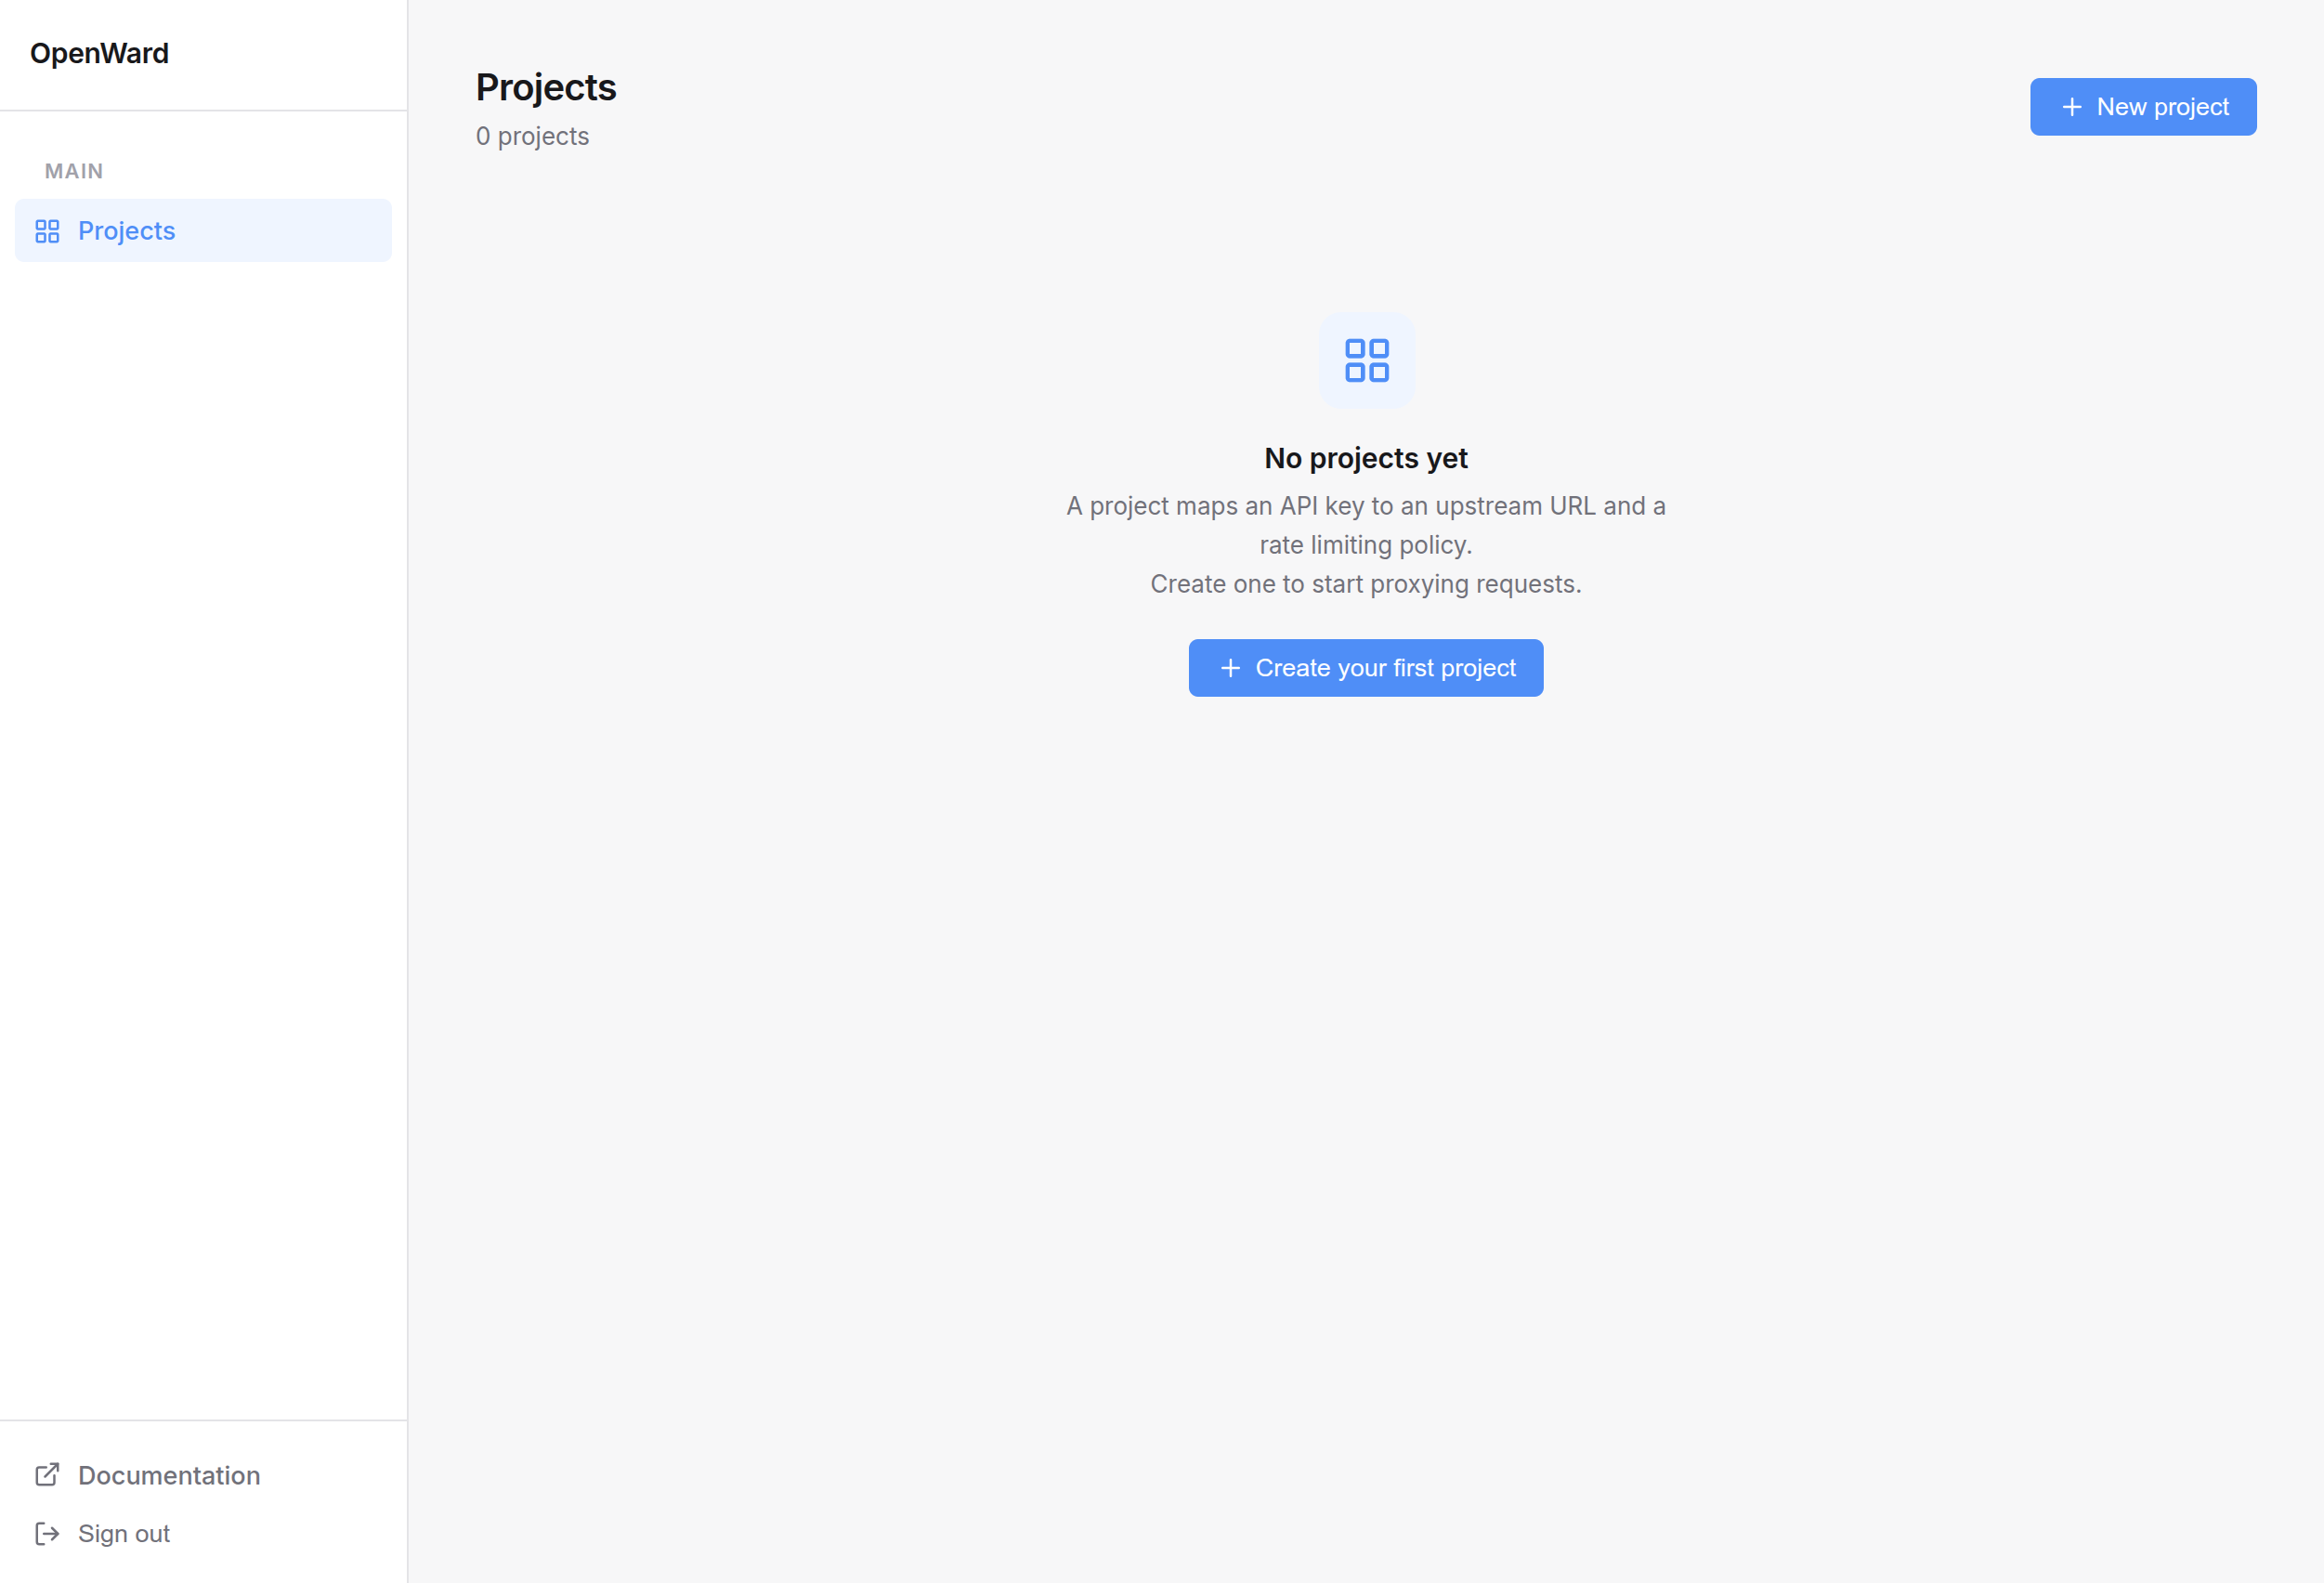
After a successful login, you will see the dashboard.
Create Your First Project
To create a new project, click the New Project button in the top-right corner of the dashboard.
This opens a pop-up where you can enter the project details.
Fill in the fields as follows:
- Name:
My API - Upstream URL:
https://api.example.com - Algorithm:
Fixed Window - Max requests:
100 - Window (seconds):
60 - Enable immediately: turn this on if you want the project to start accepting requests right away
The Upstream URL is the destination OpenWard will forward requests to after authentication and rate limiting are applied.
The Algorithm field controls how requests are limited for this project. In this example, we are using Fixed Window, which is a simple and predictable starting point.
Save The Project
After entering the details, save the project to create it.
Once the project is created, it will appear in your dashboard and OpenWard will begin enforcing the selected rate limit rules for it.